



outfit

Sunny Saturdays: Mint Tee & Abstract Prints

September 11, 2013


Forever 21 Tee & Skirt | American Eagle jean jacket (on sale!) | Zara heels | Coach Penny
Coach watch & rings | Necklace & Heart ring DIY

As summer is inevitably changing into Fall, it makes me think of things that are leaving with it. One of my favourite things to do is visit the outdoors farmers markets in my city to enjoy the local festivities and see the beautiful seasonal produce. There's even food trucks on site, so what's not to love? Our markets run through the winter indoors, but without the sunshine and warm breeze, it just isn't the same. Easy outfits like this one are my go-to on Saturday morning market trips - simple, carefree, chic.
Manicure Monday

Manicure Monday: In The Cable Car-Pool Lane

September 09, 2013

Happy Monday! I'm back from a weekend away (again) - and I never thought I would return exhausted from a weekend getaway! My best friend is getting married this year, so us in the bridal party took her out for a bachelorette weekend away. So. Tired. But hey, I love weddings and am counting down the days.

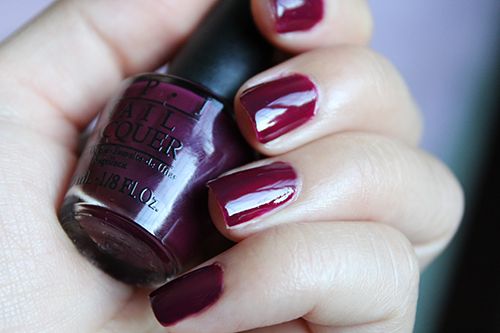
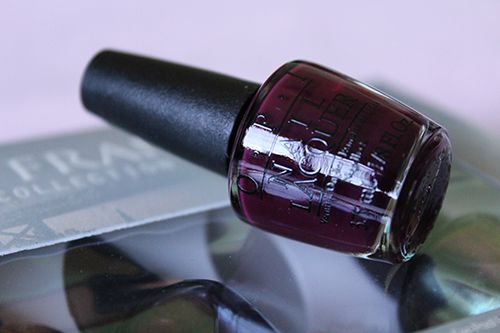
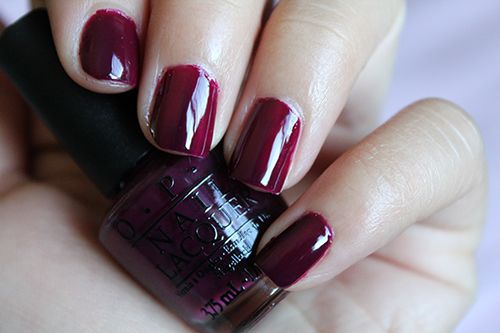
It's another week back at school for me and I'm hoping this one goes by quick. And with the return of school is the inevitable change of seasons - the days are getting shorter, and the mornings are getting colder. Hello, Fall. So I picked up a few shades from OPI's Fall 2013 Collection featuring the beautiful city of San Francisco. Up this week is one of my favourite fall shades - a gorgeous deep plum creme called In The Cable Car-Pool Lane. Although the colour is beautiful, I wasn't too impressed with the formula and application. I found the polish to be a little thicker than normal, so application was streaky, and the polish wouldn't level itself out. At three coats in the pictures above, I could still see streakiness and wasn't happy with the finish. The manicure lasted only 3 days before chipping, and I would attribute it to the formula. Boo. Hopefully the next polish performs better!

friends

Recipe: Fun in the Kitchen - Perogies from Scratch

September 06, 2013

Perogies. Who doesn't love perogies? It's comfort food to the fullest, and definitely food coma material. And there's so many ways to cook and customize them that there's something for everyone. What's your favourite?

A couple months ago, I set aside an afternoon to spend with my lovely friends K, A, M & G to make perogies from scratch. Yep. It really helps when you have a friend who's grandmother is a perogy whiz and grew up learning to make them with her - one phone call was all it took for us to get the secret recipe. And now I get to share it with you!

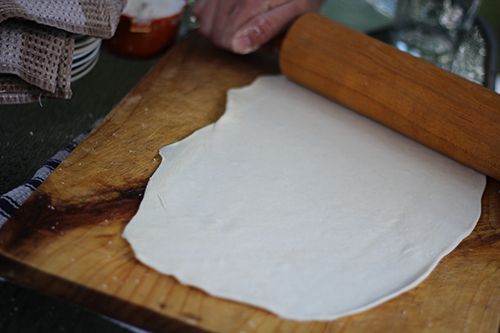
I think the thing that scares people the most about making perogies is the dough. Well, at least it was what I was most unsure about. Like, what goes in the dough? Fillings are easy - mash up some potatoes, add your favourite fixins and voila, wrap it in the dough and cook it up.


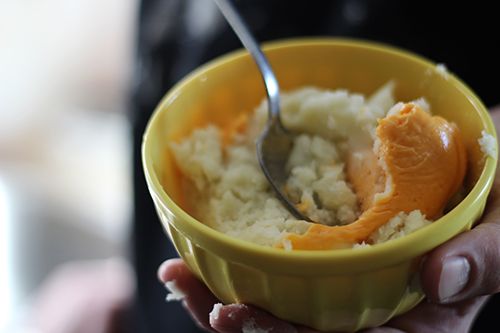
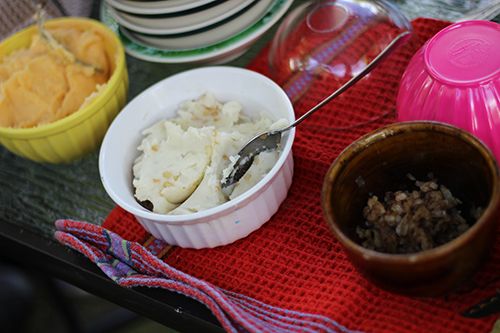
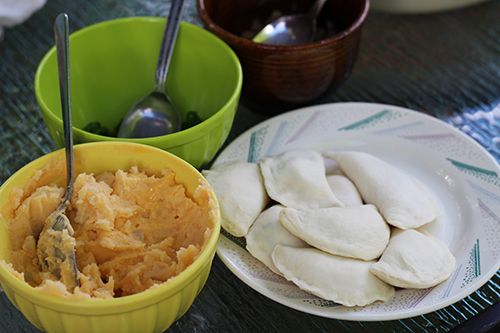
Fillings for perogies

But surprisingly, this dough has two ingredients. Literally. Flour and sour cream mixed together to achieve a doughy consistency, rolled out and cut to the perfect size. And once it's cooked up, it tastes amazing! With a little prep work and elbow grease, you can make your perogies in the afternoon and serve them up for dinner.

The funnest part in the whole process is getting the hang of filling the dough and shaping the perogies. For the filling, we had mashed up potatoes as our base, and added different components to change things up. One was a cheesy potato filling, while another had green onions, and others yet had some diced up caramelized onions. Want more ideas? Try bacon or mushrooms - whatever makes you happy! Pro tip: K's grandmother suggested using Cheez Whiz to make potatoes cheesy, as it is much easier to incorporate. But I'm sure if you cooked up a quick cheese sauce with your favourite cheese it would be the same.

The bunch of us together had so much fun making the perogies. All of ours looked different from one another, and it was fun making an activity out of it. G went and did some "perogy inception" - he put a small perogy into a larger one. Oh, boys.


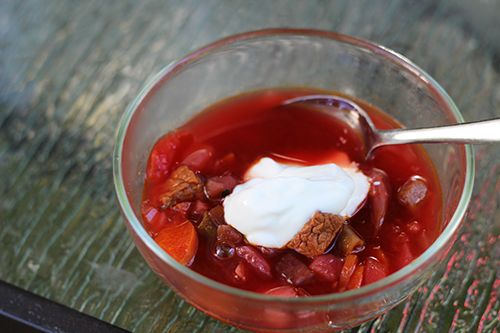
borscht

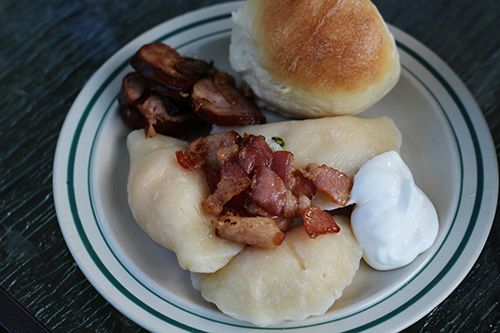
Once all the perogies were folded up and ready to cook, we boiled them, hoping they wouldn't burst open in the cooking process. Together we fried up some bacon, sausages, and onions - the house smelled amazing!

Buns, perogies, sausages, bacon, borscht, and sour cream galore - we had a feast to serve at least 10 people. The process was easy and straightforward enough that I could totally do it again if I had the craving. Homecooked is always the best, as you're able to control what you are making and eating, and you're able to tailor things to your dietary needs.

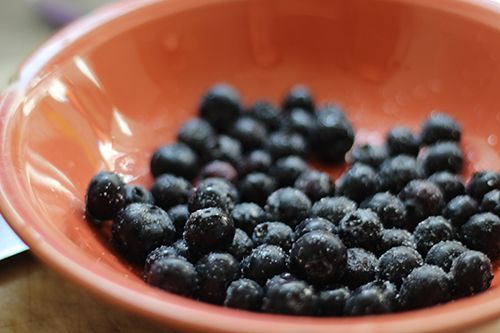
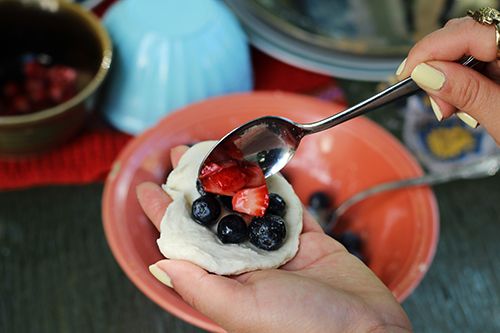
When K grew up, her grandmother also made dessert perogies. This was something completely new to me, and I had no idea what we would be putting in them. For the afternoon, we decided to fill our sweet perogies with blueberries and strawberries tossed with a bit of sugar. Cooked up and served with yogurt, they were delicious! I can only imagine filling them with other fun things... like chocolate.. or salted caramel.. oh man. So grab some friends and have a perogy feast!


-----------------------------------------------
RECIPE

Flour
Tub of Sour Cream
Potatoes
Fillings of your choice

1. While stirring the sour cream, add flour 1/4 cup at a time to achieve a doughy consistency (you will have to watch carefully and adjust the flour). When the dough is ready, it will be barely sticky to the touch and stretchy. Knead slightly to ensure everything is thoroughly incorporated, and place in the fridge for 30-45 minutes (longer is not a problem).

2. Prepare your fillings for perogies.

3. After refrigerating, roll out the dough to a thickness of 0.5cm. The dough should not stick to the surface it is being rolled out on. Cut with a cookie cutter or a cup with an approximate diameter of 6cm.

4. In your hands, work the dough slightly, thinning out the centre and edges. Place a dallop of filling into the centre, then fold the dough in half, pressing tightly on the edges to seal your perogy.

5. Bring to boil a pot of salted water, and drop in the perogies to cook. The perogies will float when they are ready to eat.

6. Serve them up the way you like & enjoy!

-----------------------------------------------

Super easy, right? Let me know in the comments below if you try this recipe out!

Instagram

Find Me on Facebook